The kitchen remodel is final finished! What a pain! This whole project seriously took way more work than I thought it would take but I am definitely glad we did it. It feels like a brand new house now. Now here is the kitchen before. This picture was actually from the listing when our house was up for sale.
Here it is after!
This is what we did:
1.New appliances, including a built in microwave (gotta save counter space!)
2. Installed a dishwasher
3.Light fixtures
4.Added a peninsula with new countertops
5.Replaced old hinges and added pulls on all the cabinets and drawers
6.Updated kitchen faucet
7.Used beadboard as a backsplash
8.Painted trim to match the rest of the house, Behr Creamy White
9.Beadboard is painted Behr Country Beige and the walls are painted Behr Cornsilk
Here’s a close up of the kitchen sink area.
Our dining room before.
Dining room after.
There is a ton of finishing touches to do to personalize the space but right now I am taking a break from the kitchen. The only thing that’s going to happen in there these next few months is baking and cooking. Now about that bathroom...
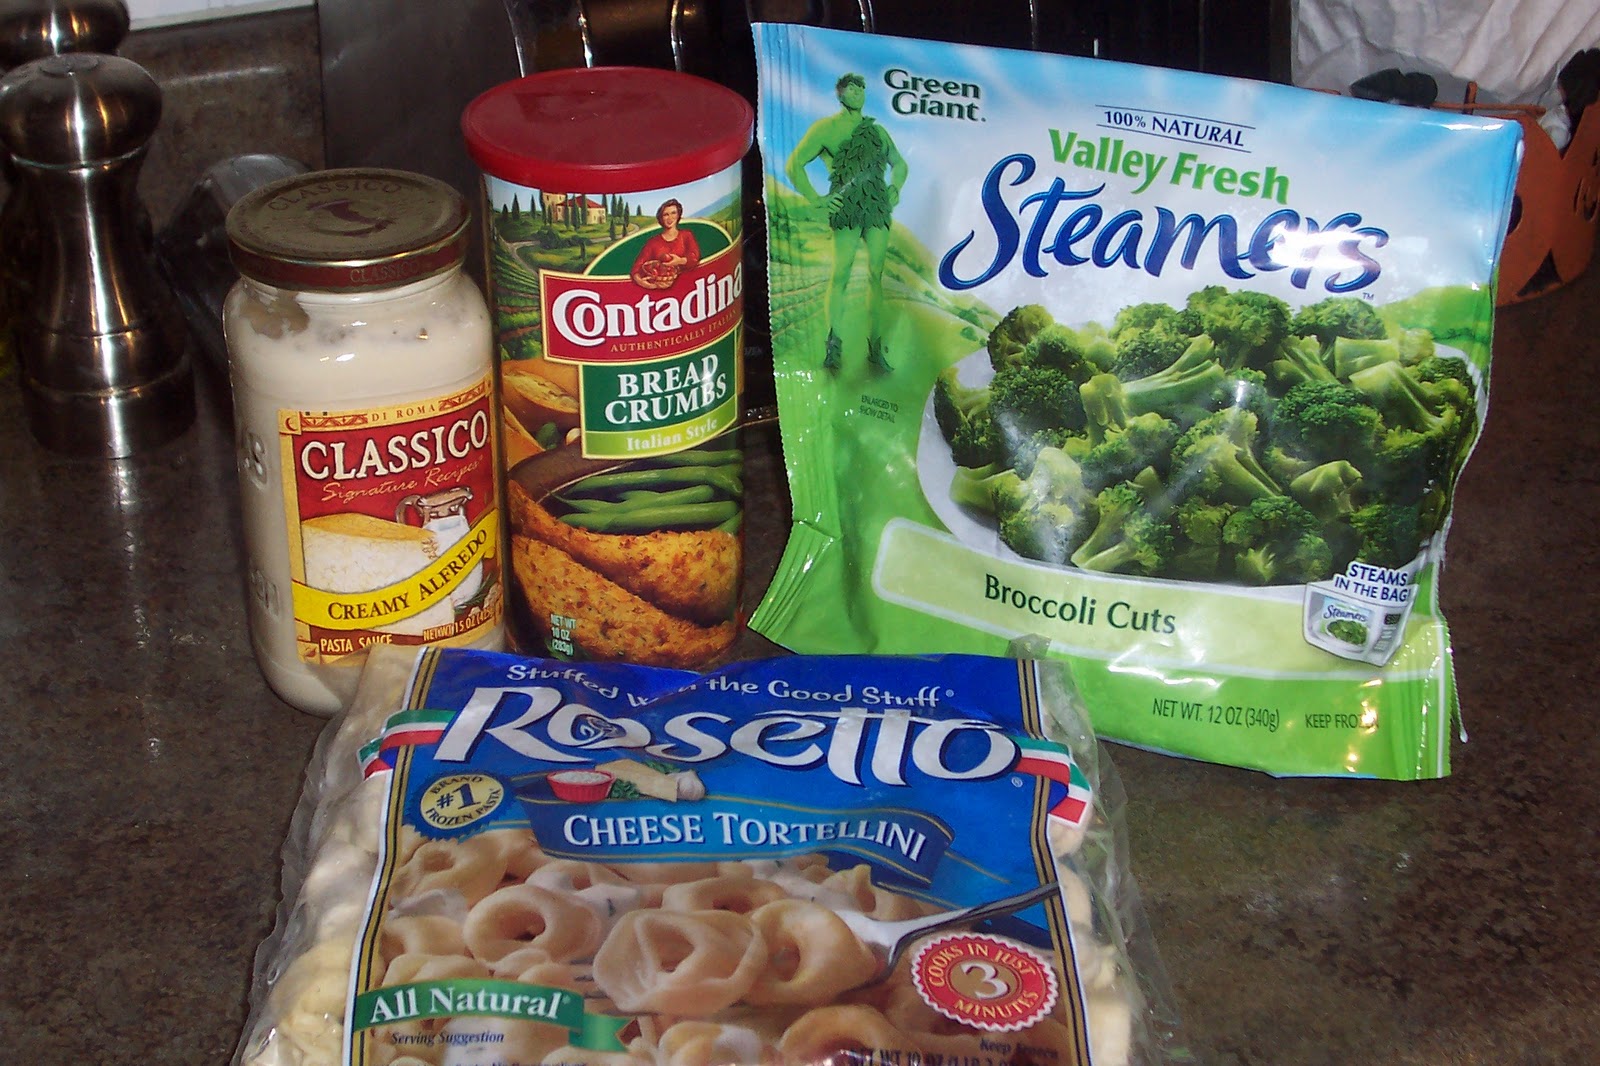
Do you ever come home to make dinner at night and think “Oh, well this casserole will be easy!” but then realize that after preparing everything it needs to bake in the oven for another 30 minutes? Well it happens to me all the time. Don’t get me wrong, I love my hotdishes but I need a quick hearty meal every once in a while. So I came up with this Tortellini Casserole.
1 package (19 oz) frozen cheese tortellini
1 package (12 oz) broccoli cuts
1 tablespoon butter
¼ cup Italian style bread crumbs
1 chicken breast (cooked and cut up into tiny pieces)
1 jar (16 oz) Alfredo sauce
2 tablespoons shredded Parmesan cheese
Boil tortellini as instructed on package. Drain and return to pot and add the alfredo sauce and chicken, keeping it on low heat to heat up the alfredo. Meanwhile, microwave the broccoli cuts as instructed on the package. Add cooked broccoli to alfredo mixture.
In a small skillet melt the butter. Add the bread crumbs and stir them around to coat them. Cook for about 1 minute to brown the breadcrumbs, but stir constantly.
Take out a large serving bowl and empty the entire pot of tortellini into it. Top with the breadcrumbs and then the Parmesan. Serve immediately.
This has been a staple at my house and I never have any complaints. It’s also really easy to throw together if you have some unexpected guests. Enjoy!
While I have been patiently waiting for the final project to start in my kitchen, the walls, I have been brainstorming and strategizing new and fun ways to make my kitchen more organized. Like I’m sure I’ve mentioned before I have a lot less cupboards than what I’m used to. You wouldn’t believe the feeling you have when you go from having a pantry to no pantry at all. It takes some extreme creativity. My first step I took was figure out where to put my onions, garlic, and potatoes that can’t go in the refrigerator. They were too big and bulky for my food cabinet and I didn’t want to use up counter space to our found that awesome tiered basket at HomeGoods. I didn’t want it to sit right on the floor so I stopped over at Michaels and grabbed one of their wooden crates and just slapped on some of the same stain I used to finish the cabinets. Easy peasy.
The next thing I needed to tackle was my recipes. Mostly everything I cook I find the recipes online so I had a huge pile of papers that I’ve printed out throughout the years taking up much needed space in one of my cabinets. I cleaned out my mess and sorted through all of the recipes. I threw away ones I will never make again, and then sorted the rest in categories; easy dinners, weekend dinners, salads, appetizers, and desserts. I decidedly that instead of sorting alphabetically I would sort them by the ones I use most often for easy access. We’ll see how that works. Next was to place them all in plastic sleeves and put in this adorable 3 ring binder I got at Target. This was definitely something I didn’t mind keeping on my countertop. I use it almost every day so why hide it?
Not sure if I’ve mentioned this before but I only have five drawers in my kitchen and two of them are tiny. I was really struggling with fitting all of my towels and washcloths in a drawer, they just wouldn’t all fit. The first step I took was to take everything out and see what I didn’t really use anymore and brought those down to the laundry room to use as rags. Then I took all of my washcloths and rolled them up and put them in this white enamel bin I got at Ikea. I put this right next to my sink so I can easily rad a new one and they look super cute!
One thing that we do every morning is make coffee and I’m sure most of you do too. So why have coffee filters one place and coffee in another. I was given this Halloween themed basket as a hand me down from my mother in law and put it to use. It sits next to our coffee maker and keeps everything together so I can make my next cup. Now I’m going to have to find a new basket for when Halloween’s over…
When we first moved into our house and I was trying to get organized I bought a breadbox. The problem with this is that we go through a lot of bread around here (I love carbs) so I was actually having to put bread on top of my breadbox because it wouldn’t all fit. Now that doesn’t make sense. I ditched the breadbox and went to Michaels and found this linen lined basket (it matches my door curtain and my light fixture shades) and have been throwing all of my bread in there. It has been working perfectly!
I really wanted to point out how important it is to keep your kitchen organized and how crucial counter space is. I see all too often beautiful kitchens online that have all this cute decorative things all over their counters. As much as I would love to have a statue of a rooster sitting by my toaster I just don’t have the room. The key is to figure out what you need to organize and try to put a decorative spin on it. Killing two birds with one stone.
The first time our realtor showed us our house I instantly noticed that there was no dishwasher. I wouldn’t even consider a house without a dishwasher unless there was a way to put one in easily. My dad said that it wouldn’t be a big deal to do it so that took care of that problem. For some reason after we bought the house we did not tackle this problem though. We focused on painting and some flooring here and there. The kitchen was actually the only place we didn’t paint the trim white (don’t worry, I’ll be taking care of that soon.)
Even though we were adding the dishwasher I didn’t want to lose my cabinets plus I wanted (and needed) more counter space. The solution was to just turn the cabinet piece to make a peninsula.
Time to get that dishwasher in. Now, buying a new dishwasher and hooking it up is easy compared to what needed to be done here. Since there’s never been a dishwasher you need to hook up plumbing and electrical to it. Most houses nowadays automatically have plug ins behind the dishwasher spot, we didn’t have that luxury. Thank goodness for my dad, he is so handy. I couldn’t imagine trying to do this ourselves.
Finally the dishwasher is in! I seriously started loading it with whatever I could find right away. I was like a kid wanting to play with their present on Christmas morning.
Since we extended our counter top area we needed new counter tops (plus the old ones were pretty dated and had some cracks.) We picked the High Resolution Laminate Wilsonart counter tops in Deepstar Agate. And wow, what a difference!
There’s still some staining to do on the new pieces that were put in but that should be taken care of this weekend. There is definitely more things to be done in here but I think we’re off to a great start.
A few months ago my sister was telling me about spray painting and how it’s almost addicting. At the time I didn’t take her seriously. Now I’ve realized she was telling the truth. I bought my first can of spray paint and I am hooked! Everything in my house, other peoples’ houses, things at garage sales, anything, I think about spray painting it. It transforms things so quickly how can you not be addicted? So here comes the story of a bathroom clock...
When I was first initially starting thinking about getting a clock in the bathroom images like this came up. I definitely wasn’t going to go this route. Is it weird having a clock in the bathroom? How are you supposed to know if you have time in the morning to curl your hair or just throw in some gel in and run out the door? I had all but given up when the clouds parted and I found this!
This clock was at a super cute shop in Zimmerman, MN called Ramshackled Treasures. I thought this worked perfect to sit right on the counter. The problem was the color of the clock just isn’t doing it for me. It almost looks like some sort of animal print. Off to Michael's I went to get some spray paint and I couldn’t believe all the different kinds they have. I decided on silver because that is the color of my towels rods and some other fixtures.
Pretty bright! I almost felt like I just painted a car part or something. Maybe I am just overreacting. So I brought it inside and figured that I just needed it to grow on me.
Nope, I can’t stand it. It is so out of place! Off to the hardware store I went to see if they had anything that would work.
Espresso! That’s the color of our toothbrush holder and soap dispenser. What have I got to lose?
I love it! There’s no waiting around to see if it grows on me for this one. This color is here to stay. I like it so much that I’ve been eyeing an ugly hunter green lamp this week that may be getting the same treatment. Maybe me and my sister can have a spray painting party so we can work out our addictions together!
I’ll be the first to admit that I’m not the most creative person in the world, but I’m pretty darn good at researching and finding inspiration to make my home feel like it was professionally designed. The only problem now is trying to find inspiration for the wall colors in my kitchen and dining room. I am planning on painting all the trim and windows white like the rest of the house but we are leaving the oak cabinets as is. For some reason there must me an unwritten rule that all home blogs need to feature painted cabinets. Don’t get me wrong I love the look of painted cabinets but due to budget constraints and Ryan’s strong determination to hold onto one of the last pieces of wood grain in the house I’m going to embrace the oak cabinets.
In these pictures you can see the bare kitchen and dining room before we moved in. My plan is to have white wainscoting up to where the border is and above that be our color. Initially we were leaning towards a light yellow but, again, no inspirational photo to get the creative juices flowing. Plus, our master bedroom is a muted light yellow and I would like to do something different room to room to give a unique feel.
This Sherwin Williams Grasslands
This is Sherwin Williams Whole Wheat
Earth tones are always a safe bet you just need to be careful not to do too much tan or there isn’t any personality.
I wasn’t thinking at all about going with a green tone but it actually goes really nice with the oak cabinets. I think that it takes away the orangeyness (I think I just made that word up) that maybe a yellow or a different warm color would bring out.
What do you think? Do these compliment the oak cabinets? Or should I continue on my search for yellow inspiration? We're hoping to start on the installation of the dishwasher this weekend so the pressure is on to make some decisions!